
 Tiếng Việt

Enabling XM Two-Factor Authentication requires turning on 2FA through the XM Members Area security settings and linking a compatible authenticator app, such as Google Authenticator, to generate login verification codes. This extra layer confirms a user’s identity with a time-based code alongside the regular password during login.
Disabling XM 2FA involves accessing the same security settings menu in the Members Area and turning the feature off after confirming identity with a valid authentication code. Users typically need access to their linked authenticator device to complete this step successfully.
Securing the XM Members Area login with 2FA means pairing an account with a compatible authenticator app, such as Google Authenticator, so every login attempt demands both a password and a rotating one-time code generated via Google Authenticator. This combination significantly reduces the risk of unauthorized access even if a password becomes compromised.
Fixing 2FA login issues on an XM account starts with checking the authenticator app’s time synchronization, since device clock desync is the most common cause of invalid code errors. Making sure the correct current code is entered before it expires resolves most login failures. Contacting official XM support becomes necessary when codes repeatedly fail or the linked device is lost.
Mbroker breaks down each of these processes below, starting with what XM Two-Factor Authentication actually is and the exact steps required to enable it.
What Is XM Two-Factor Authentication (2FA) and How Do You Enable It?
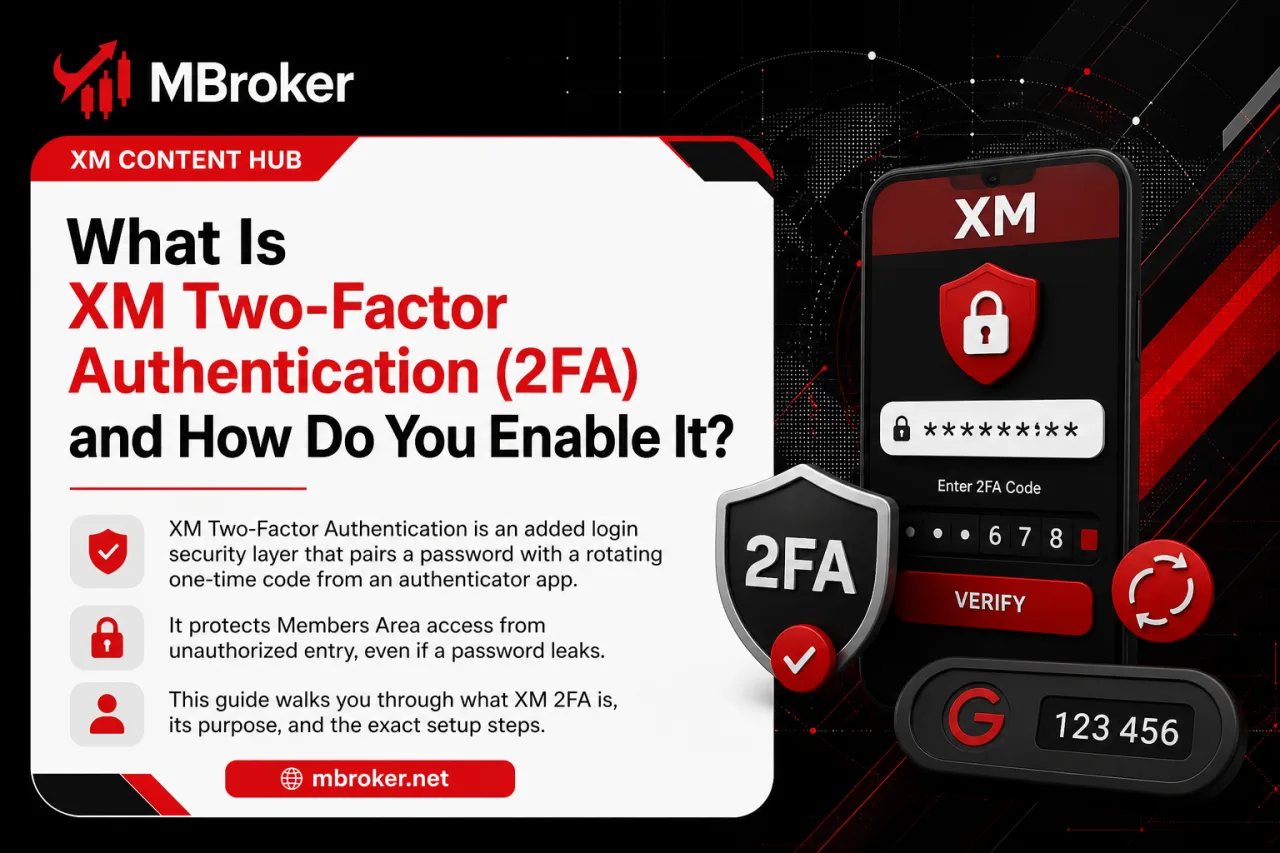
XM Two-Factor Authentication is an added login security layer that pairs a password with a rotating one-time code from an authenticator app, protecting Members Area access from unauthorized entry. This section walks through the definition, its purpose, and the exact setup sequence before the dedicated sub-sections below cover login security, disabling, and troubleshooting in more depth.
The core purpose of XM 2FA centers on blocking account access even when a password leaks, since a second verification factor tied to a physical device stays required. Enabling it follows a defined sequence:
- Log into the XM Members Area using existing account credentials.
- Navigate to the security or account settings section.
- Select 2FA setup and choose a compatible authentication app, such as Google Authenticator.
- Scan the displayed QR code with the app, or enter the provided secret key manually if scanning fails.
- Enter the code generated by the app into the Members Area to confirm activation.
Once confirmed, the next login prompts for both the password and a fresh authenticator code, verifying the setup succeeded. If activation fails, retrying the code entry, checking that the device’s time sync is accurate, or reaching out to XM support resolves most setup errors.
What Do You Need to Prepare Before Setting Up XM 2FA?
Setting up XM 2FA requires four items ready beforehand: a smartphone, a compatible authenticator app, valid Members Area login credentials, and a stable internet connection. Gathering these prerequisites prevents interruptions midway through the activation sequence covered earlier.
The list below breaks down what each item involves:
- Smartphone: a device capable of installing and running an authenticator app, since the QR code scanning step depends on camera access.
- Authenticator app: a TOTP-based app such as Google Authenticator installed and ready before starting setup in the Members Area.
- Login credentials: the existing XM username and password, since Members Area access is the entry point for reaching the 2FA setup menu.
- Internet connection: a stable connection on both the device running the Members Area session and the smartphone, since the app must sync time correctly with the server to generate valid codes.
Missing any of these items stalls the setup process at the QR scanning or code confirmation stage.
Users without a smartphone available at the moment of setup typically postpone activation until a compatible device is accessible. The authenticator app cannot be substituted with SMS or email in this flow.
Which Devices and Authenticator Apps Are Compatible with XM 2FA?
XM 2FA works with TOTP-based authenticator apps that generate rotating time-based codes, with Google Authenticator standing as the officially referenced option in XM’s setup documentation. This section clarifies which devices and apps pair reliably with the security feature covered in the setup sequence above.
Any smartphone running a standard TOTP authenticator app functions as the pairing device, since the mechanism relies on scanning a QR code or entering a secret key rather than on a specific phone brand or operating system. The compatibility list stays narrow and function-based rather than brand-based:
- Google Authenticator: the app named directly in XM’s own 2FA setup instructions.
- Other TOTP-compliant apps: authenticator apps built on the same time-based one-time password standard may generate valid codes, though XM’s official materials reference Google Authenticator specifically.
SMS codes and email verification do not substitute for the authenticator app within this specific 2FA flow, since the setup steps described earlier depend on QR scanning and app-generated codes rather than message-based delivery. Users uncertain whether a particular authenticator app qualifies contact XM support directly for confirmation rather than assuming compatibility, since listing unverified apps as supported risks a failed setup attempt at the code confirmation stage.
How Do You Disable or Turn Off 2FA on Your XM Account?
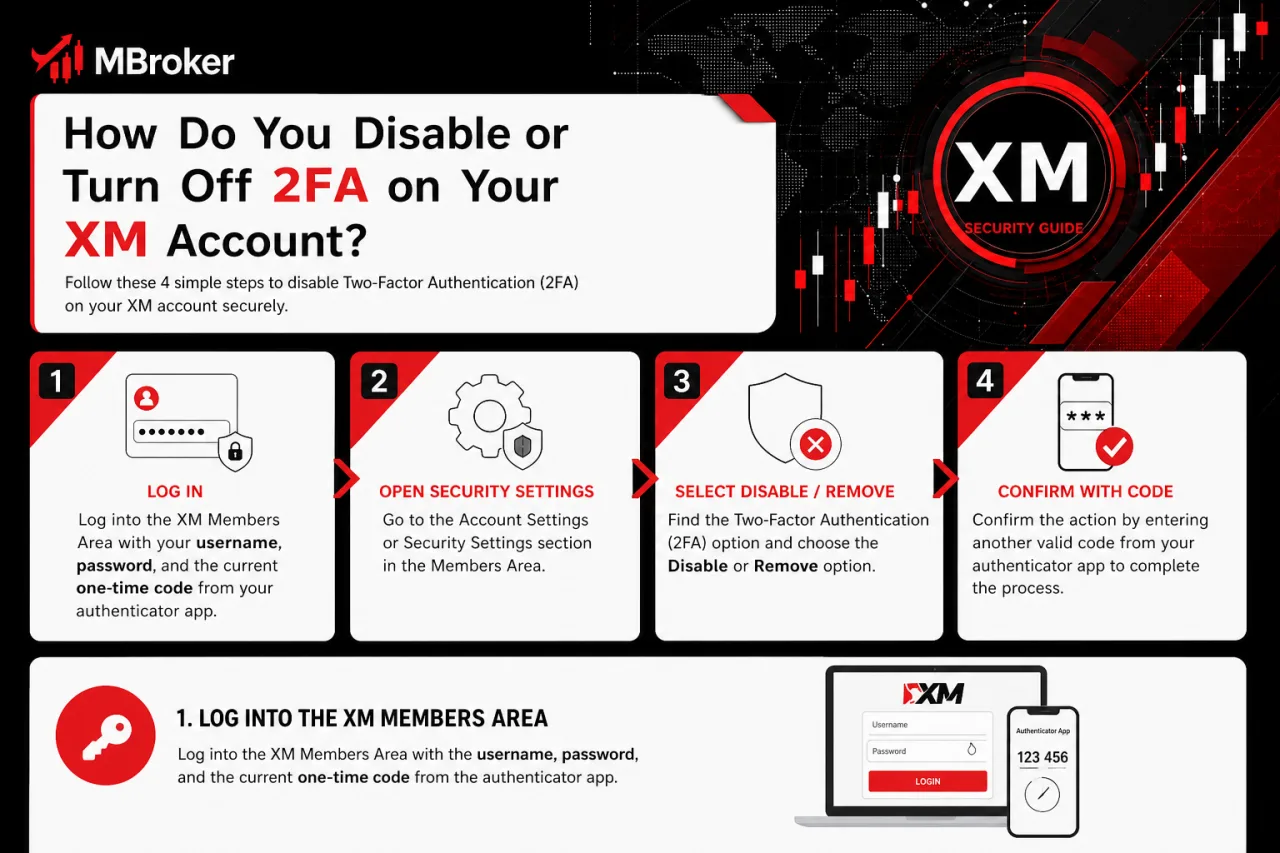
Disabling XM 2FA follows four steps: log in using a current authenticator code, open the same security settings menu, select the disable or remove option, then confirm the action with another valid code. This mirrors the deactivation process the earlier setup sequence built toward, requiring the same authenticator device rather than a separate removal channel.
The full sequence runs as follows:
- Log into the XM Members Area with the username, password, and the current one-time code from the linked authenticator app.
- Navigate to the same security or account settings section used during activation.
- Select the option to disable or remove 2FA from the account.
- Confirm the change by entering another valid authenticator code or completing the verification prompt that appears.
Once confirmed, subsequent logins no longer request the extra authenticator code, reverting access to password-only entry. Removing this layer lowers overall account protection, since a leaked password alone becomes sufficient for unauthorized access afterward.
If the disable option stays greyed out or the confirmation step fails, entering the code again after checking the app’s time sync resolves most cases. Users without access to the linked authenticator device at this stage contact XM support directly, since the Members Area interface alone does not offer a bypass for this confirmation requirement.
How Can You Secure Your XM Members Area Login Using 2FA?
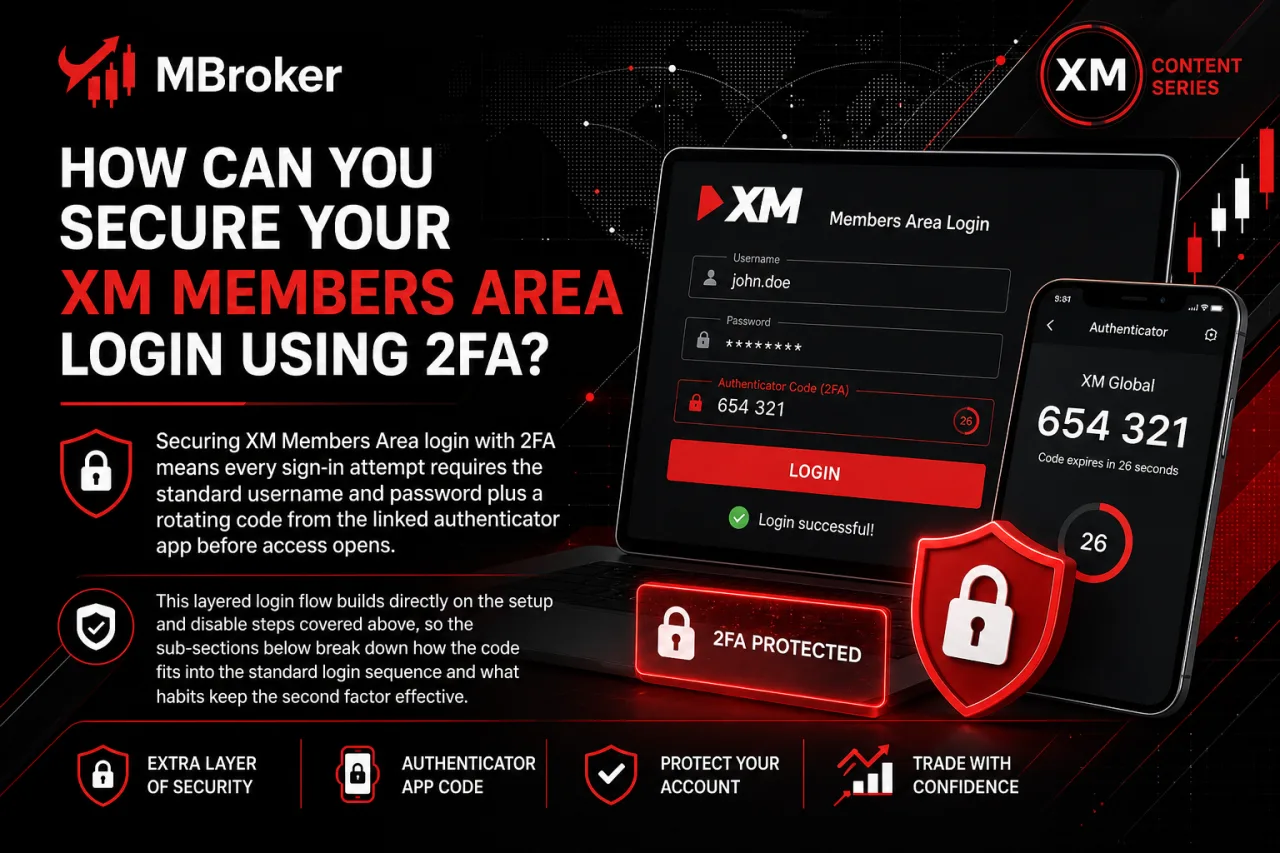
Securing XM Members Area login with 2FA means every sign-in attempt requires the standard username and password plus a rotating code from the linked authenticator app before access opens. This layered login flow builds directly on the setup and disable steps covered above, so the sub-sections below break down how the code fits into the standard login sequence and what habits keep the second factor effective.
Is Enabling 2FA Mandatory for XM Members Area Login?
Enabling 2FA on an XM account currently functions as an optional security feature rather than a mandatory requirement for accessing the Members Area.
This distinction between mandatory and optional status matters for anyone deciding whether to complete the setup sequence covered earlier. A few points clarify the current standing:
- Password-only login remains functional for accounts that never activate 2FA, confirming the feature sits outside the standard registration or login flow.
- Activation stays user-initiated, since the setup steps described earlier require a person to manually navigate to security settings and enable the option.
- Recommendation framing appears stronger than enforcement, as XM’s security messaging encourages the added layer without blocking basic access for users who skip it.
Regional or account-type variations in this policy have not been officially verified, so confirming the current status through the Members Area or XM support directly avoids relying on outdated assumptions.
How Do You Fix Common XM 2FA Login Issues?
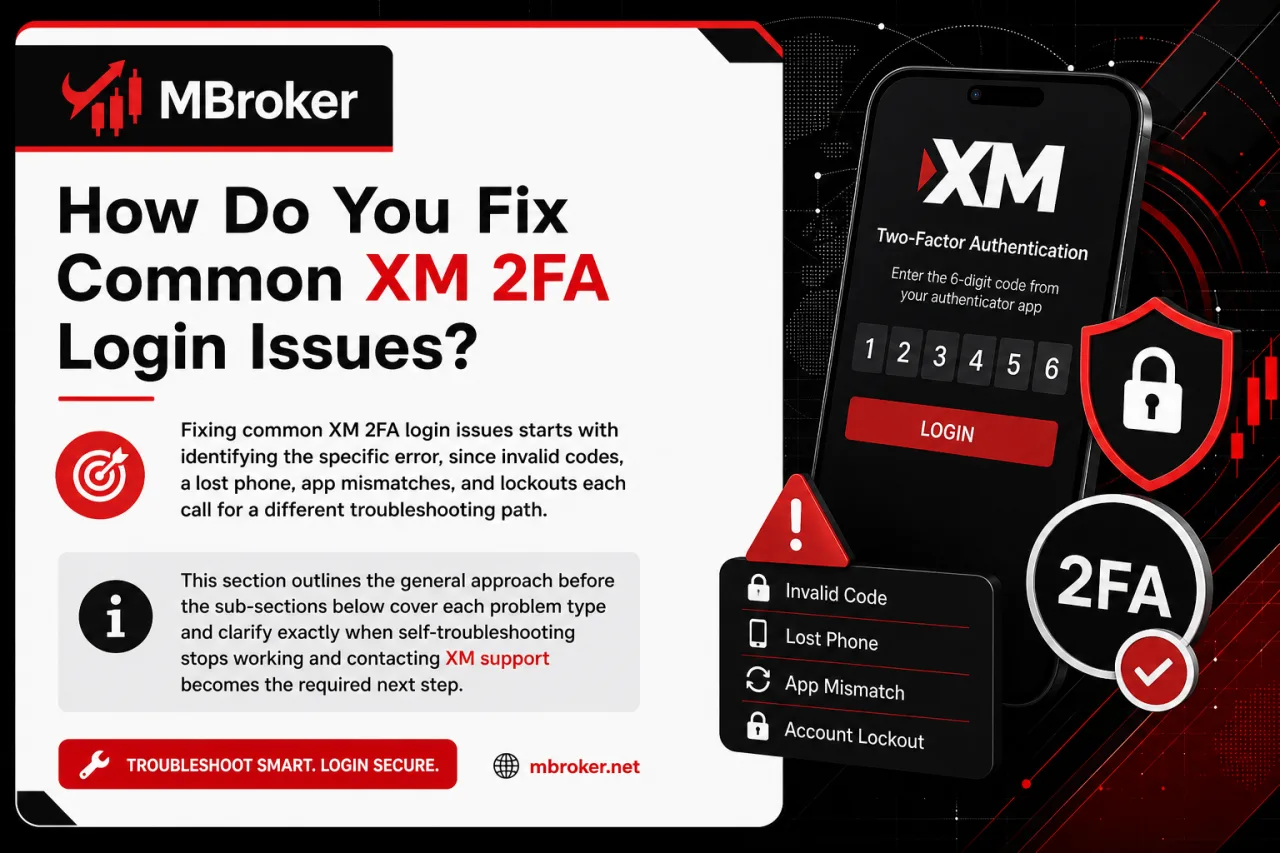
Fixing common XM 2FA login issues starts with identifying the specific error, since invalid codes, a lost phone, app mismatches, and lockouts each call for a different troubleshooting path. This section outlines the general approach before the sub-sections below cover each problem type and clarify exactly when self-troubleshooting stops working and contacting XM support becomes the required next step.
What Should You Do If You Lose Access to Your 2FA Device?
Losing access to the linked authenticator device requires contacting XM support directly to request identity re-verification before 2FA removal restores Members Area access. This scenario differs from the standard disable flow covered earlier, since that process assumes the device stays available to generate a confirmation code.
The general path forward involves a few distinct stages:
- Reporting the lost or replaced device to XM support through official contact channels rather than attempting repeated code guesses in the Members Area.
- Submitting identity verification documents matching the account’s existing KYC records, since support staff confirm ownership before touching the 2FA setting.
- Manual account access cases generally require back-and-forth identity confirmation with support rather than an instant reset, so processing can take some time.
- Re-enabling 2FA afterward with a new authenticator app installation, following the same setup sequence described earlier in this guide.
Recovery outcomes depend on successful identity confirmation, so contacting XM support through the official Members Area or verified contact page stays the only reliable path forward. No guaranteed timeline or automatic bypass exists for this situation, since the manual review step exists specifically to prevent unauthorized account takeovers.
Why Does XM 2FA Show an Invalid or Expired Code Error?
An invalid or expired XM 2FA code error traces back to three common causes: device clock desynchronization, the code timing out before entry, or a mismatch between the authenticator app and the server’s verification window. This error interrupts the login flow covered earlier, so identifying the exact trigger determines which fix applies.
The breakdown below separates each cause from its official fix:
- Device clock desynchronization: the smartphone’s internal time drifts from the correct network time, causing the app to generate a code that no longer matches the server’s expected value.
- Code timeout: each authenticator code expires after a short rotation window, so entering a code even a few seconds late after copying it triggers a rejection.
- App-server mismatch: reinstalling the authenticator app or scanning an outdated QR code produces codes tied to a different secret key than the one XM’s server recognizes.
The official fix for time-based errors involves resyncing the device’s clock through its automatic network time setting, then regenerating a fresh code and entering it immediately. Persistent failures after resyncing indicate a mismatch requiring account access review through XM support, since re-adding 2FA from scratch resolves most app-server pairing issues.
How Does XM 2FA Compare to Other Account Security Measures Offered by XM?
XM 2FA provides stronger login protection than passwords or login alerts alone, since it requires a second verification factor even if credentials leak. This layered view of XM’s broader security ecosystem clarifies where 2FA fits alongside the other practices covered below, based on a general analysis of how these measures function rather than an official XM ranking.
Strong password requirements stop weak-credential guessing but stay vulnerable once a password leaks through reuse or a data breach elsewhere. Login notifications alert account holders after a sign-in occurs, offering detection rather than prevention.
Phishing-prevention advice, such as never sharing one-time codes or verifying official XM domains before entering credentials, reduces the chance of credentials being stolen in the first place but does not stop access once credentials are compromised. 2FA closes the specific gap the other three leave open, since a stolen password alone stays insufficient without the paired authenticator code.
What Security Information Should You Never Share to Protect Your XM 2FA Setup?
Protecting an XM 2FA setup means never sharing passwords, one-time authenticator codes, or secret keys with anyone, including individuals claiming to represent XM support. This directly addresses the phishing risk tied to the security layer covered throughout this guide, since the entire purpose of 2FA collapses the moment either factor reaches an attacker.
Three categories stay off-limits at all times:
- Passwords: the primary credential entered at every Members Area login, never requested by legitimate XM staff through chat, email, or phone.
- One-time 2FA codes: the rotating value generated by the authenticator app, valid only for a single login attempt and useless to share under any pretext.
- Secret keys: the underlying string or QR code used to pair the authenticator app during initial setup, exposing which resets 2FA protection entirely if captured by a third party.
Genuine XM support never asks for these details to resolve an account issue, so any request for a password, code, or secret key signals a phishing attempt rather than a legitimate verification step. Verifying official XM domains before entering credentials and reporting suspicious contact attempts through verified channels reinforces the account security this guide has outlined.
Conclusion: How Should You Use XM Two-Factor Authentication Safely?
XM Two-Factor Authentication strengthens Members Area security by requiring a rotating authenticator code in addition to the account password. To use it reliably, enable 2FA only through XM’s official security settings, pair a compatible TOTP authenticator app, keep the device clock synchronized and enter each code before it expires. Users with access to the linked device can disable 2FA from the same settings, while a lost or replaced device normally requires identity re-verification through official XM support. Passwords, one-time codes, setup keys and QR codes should never be shared. Ultimately, 2FA works best alongside a strong unique password, careful domain checks and a secure account-recovery plan.

Thoren Vextal is Mbroker’s XM Reviews and How-To Guides Editor, covering broker reviews, regulation, comparisons and practical account guides.Email: [email protected]